Configure NTP Servers Using Horizon
You can add or update a list of external NTP servers for StarlingX to use for time and clock synchronization at any time after installation, using the Horizon Web interface.
NTP Service
Note
NTP and PTP are configured per host. The default is NTP.
Lock/unlock the host when updating clock_synchronization for the host.
NTP Servers
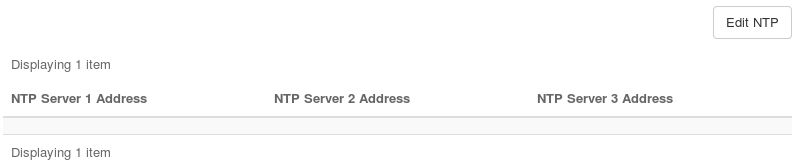
You can specify up to three NTP servers using Horizon or the CLI.
Note
When you change the NTP/PTP system configuration you have to lock/unlock all hosts. This process requires a swact on the controllers. During a host swact the system may raise NTP alarms.
Prerequisites
Before making changes to the list of NTP servers, review the Fault Management page and ensure that any existing system alarms are cleared.
Caution
Before you can use fully qualified domain names (FQDN) instead of IPv4 addresses, at least one valid DNS server is required. To add one, see Specify DNS Servers Using Horizon.
Procedure
In the StarlingX Horizon, open the System Configuration page.
The System Configuration page is available from Admin > Platform > System Configuration in the left-hand pane.
Select the NTP tab.
The NTP page appears, showing the currently defined NTP servers.
Click Edit NTP.
Add or edit the IP addresses or domain names, and then click Save.
Click Save.
This raises 250.001 Configuration out-of-date alarms against the controllers, workers, and storages nodes. You can view the alarms on the Fault Management page.
Lock and unlock the controllers, workers, and storage nodes to apply the configuration and clear the Configuration out-of-date alarms.
Open the Host Inventory page, available from Admin > Platform > Host Inventory in the left-hand pane, and then select the Hosts tab. Hosts requiring attention are shown with the status Config out-of-date.
To lock or unlock a host, click the Action Menu down arrow for the host and then use the menu selections.
Lock the standby controller.
Wait for the lock operation to be completed.
Unlock the standby controller.
Wait for the host to become available. Its configuration is updated, and its error message is cleared.
Perform a swact on the active controller.
Click Action Menu (down arrow) > Swact Host > for the active controller.
Horizon Web interface access is interrupted, and the StarlingX login screen appears. Wait briefly for the Web service to stabilize, and then log in again.
Lock the original controller (now in standby mode).
Wait for the lock operation to be completed.
Unlock the original controller.
Wait for it to become available. Its configuration is updated, and its error message is cleared.
Ensure that the Configuration out-of-date alarms are cleared for both controllers.
